
A timeline template may be a very useful gizmo for project managers and planners. Timelines allow everyone involved within the project to possess a thought about where the project is meant to be and the way much work remains. Timelines also help keep projects on target and visually explain the various different achievement of the project. it’s impossible to properly plan something without a timeline. you would like to understand what’s being done, what has been done, and what remains to be done.
How to Create a Timeline in Excel
Step 1: Start by creating a table
List each task in your project from starting to end, including key decisions and deliverables, and set a start date, end date, and duration for every one. Next, turn your table into a bar graph . Select Insert, then click the bar graph icon and choose the 2-D stacked bar graph .
Step 2: Add Start Dates
Right click your empty bar graph , then choose Select Data. When the info Source window appears, click Add under Legend Entries (Series). The Edit Series window will appear. Click within the empty “Series name:“ field, then click on the beginning Date cell of the table you created in step 1. Finally, click on the spreadsheet icon to the proper of the “Series values:” field to open the Edit Series window. Click on the primary Start Date in your table, then drag your mouse right down to the last Start Date to spotlight all of your task start dates. Click on the spreadsheet icon at the top of the Edit Series form. The previous window will appear; select ‘Ok.”
Step 3: Add Durations
Follow an equivalent process together with your Durations column: click Add under Legend Entries (Series). Select the empty “Series: name” field, then click the primary Duration cell in your table. Click the spreadsheet icon next to the Series values field to open the Edit Series window. Select the primary duration in your table, and drag your mouse right down to the last duration to pick all of your duration entries. Click the spreadsheet icon to the proper of the Edit Series form, then select okay to add durations to your Excel timeline.
Step 4: Add Task Names
Right click on any bar in your chart and choose Select Data. Click the spreadsheet icon to the proper of Category (X) Axis Labels, then click and drag to spotlight the names of your tasks in your table. don’t select the name of the column (Task), only the task names themselves. Then click ok, and ok again.
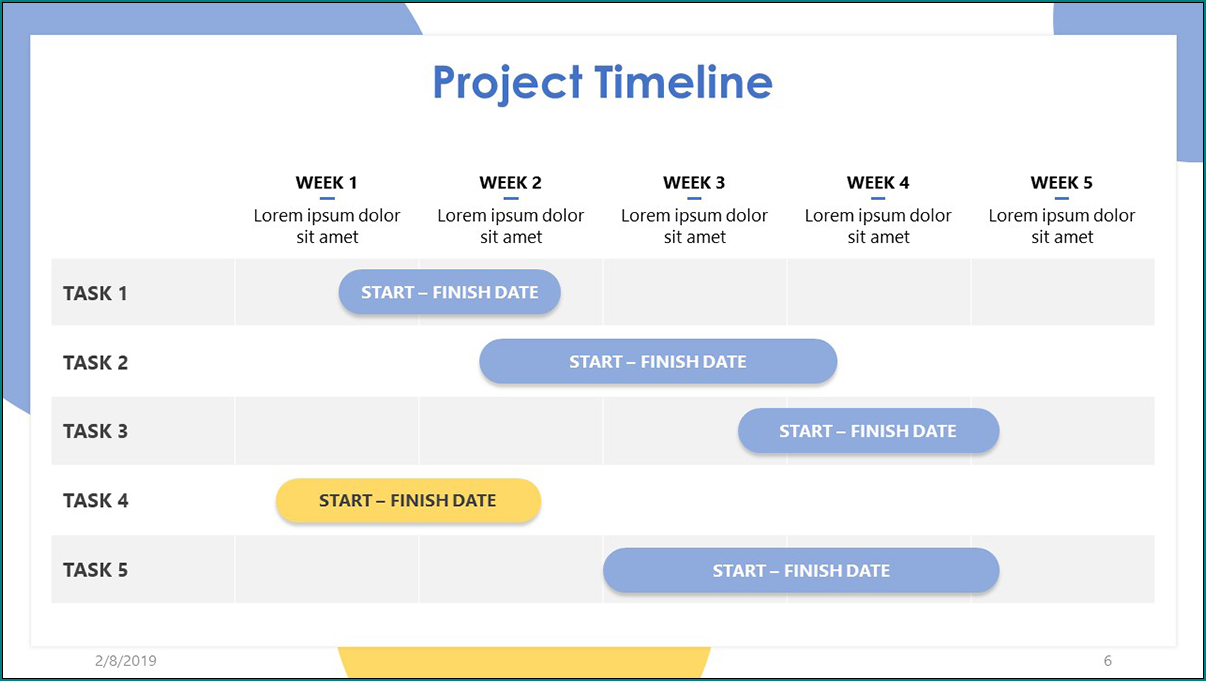
Samples of Project Timeline Template Excel :


Step 5: Format Your Gantt Chart
You now have a stacked bar graph indicating the starting dates of your tasks and their durations—but your tasks are in reverse order. Right click your list of tasks and choose Format Axis. Select the ‘Categories in reverse order’ checkbox.
To hide the blue a part of each bar, right click on the blue a part of any bar and choose Format Data Series. Click Fill, then select No fill. Then click Border Color and choose No line, and eventually Shadow and unclick the Shadow box. Then delete the unnecessary bar graph key to make more room .
To get obviate the white space at the start of your Gantt chart, right click on the primary Start Date in your data table and choose Format Cells. Under General, write down the amount listed. Hit Cancel.
Back in your Gantt chart, right click on the dates above the bars and choose Format Axis. Change the Minimum sure to the amount you’ve written down. Select close.
If you would like to urge obviate the white space between the bars, right click on the highest red bar and choose Format Data Series.
Project Timeline Template Excel | download
